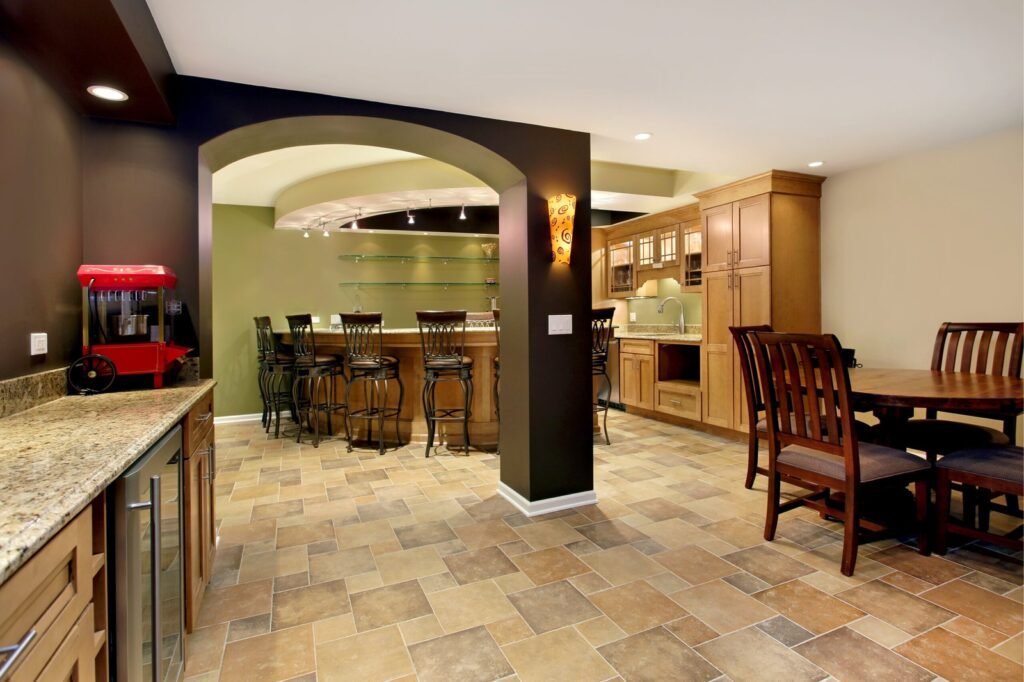

Today’s basement becomes an extra livable space, a favorite space for adults to hang out and for the kids to play. Also, research says the chances of suffering a flooded basement are more than five times greater than the chances of suffering a fire. So, it’s high time to turn your unfinished basement into a beautiful frame a wall in the basement, functional living space. As you know, basement renovation is a little expensive.
So, it will be best if you wisely spend your dollars on basement renovation by making it right for the first time! When it comes to framing a wall in the basement, there are a lot of different types of studs to choose from.
Here, we have discussed a few tips to get the work done professionally and perfectly. Also, framing a basement will be a challenging task for intermediate-level DIYers. So, in case you are a beginner, hand over the basement project to the professionals who are skilled in the frame of a wall in the basement.
With special framing and insulating techniques, your professionals will craft your basement that will also be as comfortable as any other room in your home. Remember, a properly finished basement will enhance the value of your home. Similarly, a poor framing job can bring a whole mess of problems.
Whether you are hoping to build a new home that includes a basement or own a home with an existing basement, it’s essential to know the basement renovation ideas before you start. Framing basement walls and ceilings is the core of any basement finishing project. Let’s have a look at how to frame a wall in your basement. Know a few tips for insulating basement walls here.
Frame a Wall in the Basement with These Step-By-Step Instructions
Basements are unique. People tend to have their positive and negative experiences with these spaces. However, framing around electrical and soffit fixtures will be tricky, so make sure you plan it right and implement it professionally.
Part 1: Frame a Wall in the Basement
Line Up
Make sure there is a mark every 16″. These marks are essential to spot where the studs need to go and to line up the bottom and top plates.
Nailing The Plate to The Ceiling Joist
If your top plates are parallel to joists, you may need some “blocking.” In order to secure and position it, hold the top plate in place and use a couple of quick-grip clamps.
Plumbing Down To The Floor
Your snapped line must run toward the wall parallel. So, for your bottom plate, mark two points by plumbing down to the floor. Then, give a chalk line to snap a line between these two marked areas.
Placing the Bottom Plate over the Floor
Consider line it up on the line that you snapped by placing the bottom plate on the floor. Your bottom and top plates must be perfectly aligned, although you don’t have any vertical studs in place.
Cutting and installing
Now, start cutting and installing a stud into the bottom and top plates. In order to stand up on its own, make sure the stud fits snugly in between the bottom and top. If not, use a hammer to trim a small amount off and take it down. You have to repeat the same thing till the studs are in place. Or else the basic foundation won’t be strong.

Part 2: Frame a Wall in the Basement
Double Checking the Quality of Work Done
Take your four-level to double-check whether the relatively flush on the service and the wall is plumbed (down and up). In order to make sure the wall is plumb both down and up, and relatively flush on the service, consider taking four levels and make a double-check.
Nailing the Bottom Plate
Finally, using a concrete masonry gun, nail your bottom plate into the floor.
Bonus Steps In Short to Frame A Wall In Your Basement
#1 Insulating Basement Walls
#2 Caulk Gaps
#3 Cut Bottom and Top Plates
#4 Anchor the Bottom Plate
#5 Install Blocking
#6 Install the Top Plate
#7 Install the Studs
#8 Half-Wall Studs
#9 Install the Knee Wall
Dos and Don’ts of Finishing Basement Walls
Dos of Finishing Basement Walls
- Do consider a modular basement wall system
- Before making major changes, DO get a permit.
Don’ts of Finishing Basement Walls
- Don’t consider installing the basement project without professionals’ help.
- In case the concrete floor is out of level, DON’T build “tip-up” walls
- If you’re adding a bedroom, DON’T forget to install an egress window
- Until the basement is dry, DON’T finish the walls.
Always discuss your basement renovation ideas with a professional to make it live with their skills. They not only help you bring your dream true but also help to provide advice on your basement renovation project.
15 Tools That Should Be Need For Basement Renovation
- Sill Gasket
- Dust mask/respirator (dust mask)
- Safety Glasses
- Carpenter Pencils
- Hammer
- Speed Square
- Framing Square
- Metal or Wood Studs
- Measuring Tape
- Laser Level
- Plumb Bob
- Nail Gun
- Air Compressor
- Drill
- Power saw
These are the tools that you will need to build walls in the basement. Experts also recommend professional service for this reason.
Wrapping Up
Building a wall in the basement by yourself can be frustrating. When it comes to building walls in the basement, the professionals will ease all work, save time and money, and get a great result. So, if you plan for basement renovation and frame a wall in the basement, hire the right professionals to get quality work at affordable prices. Also, to learn more about basement renovation n, you can check out My New House Project Blog.


