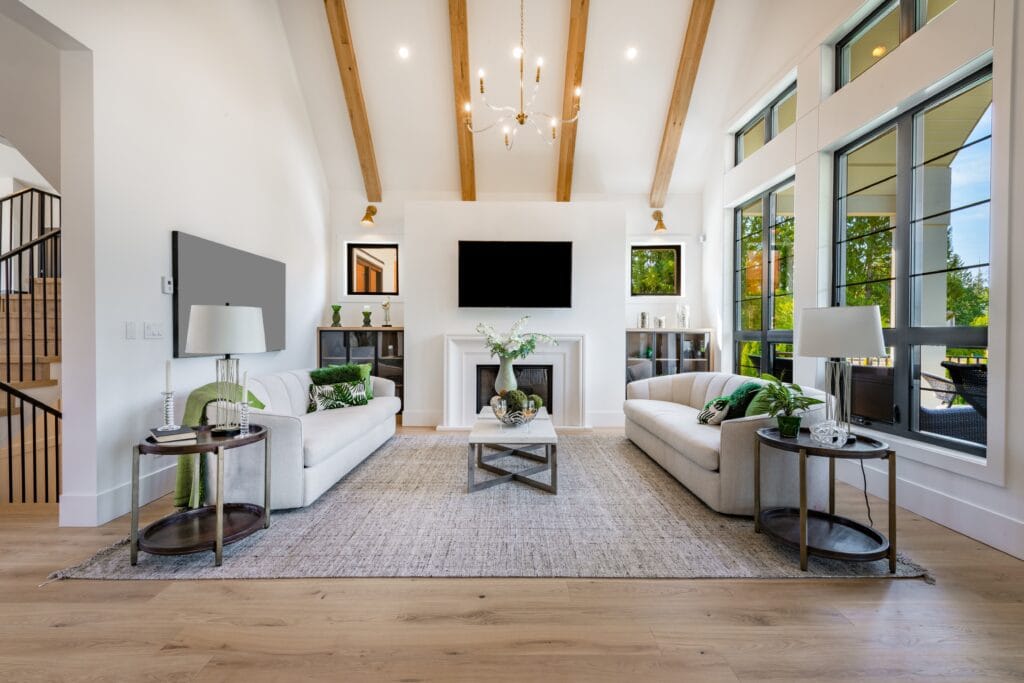
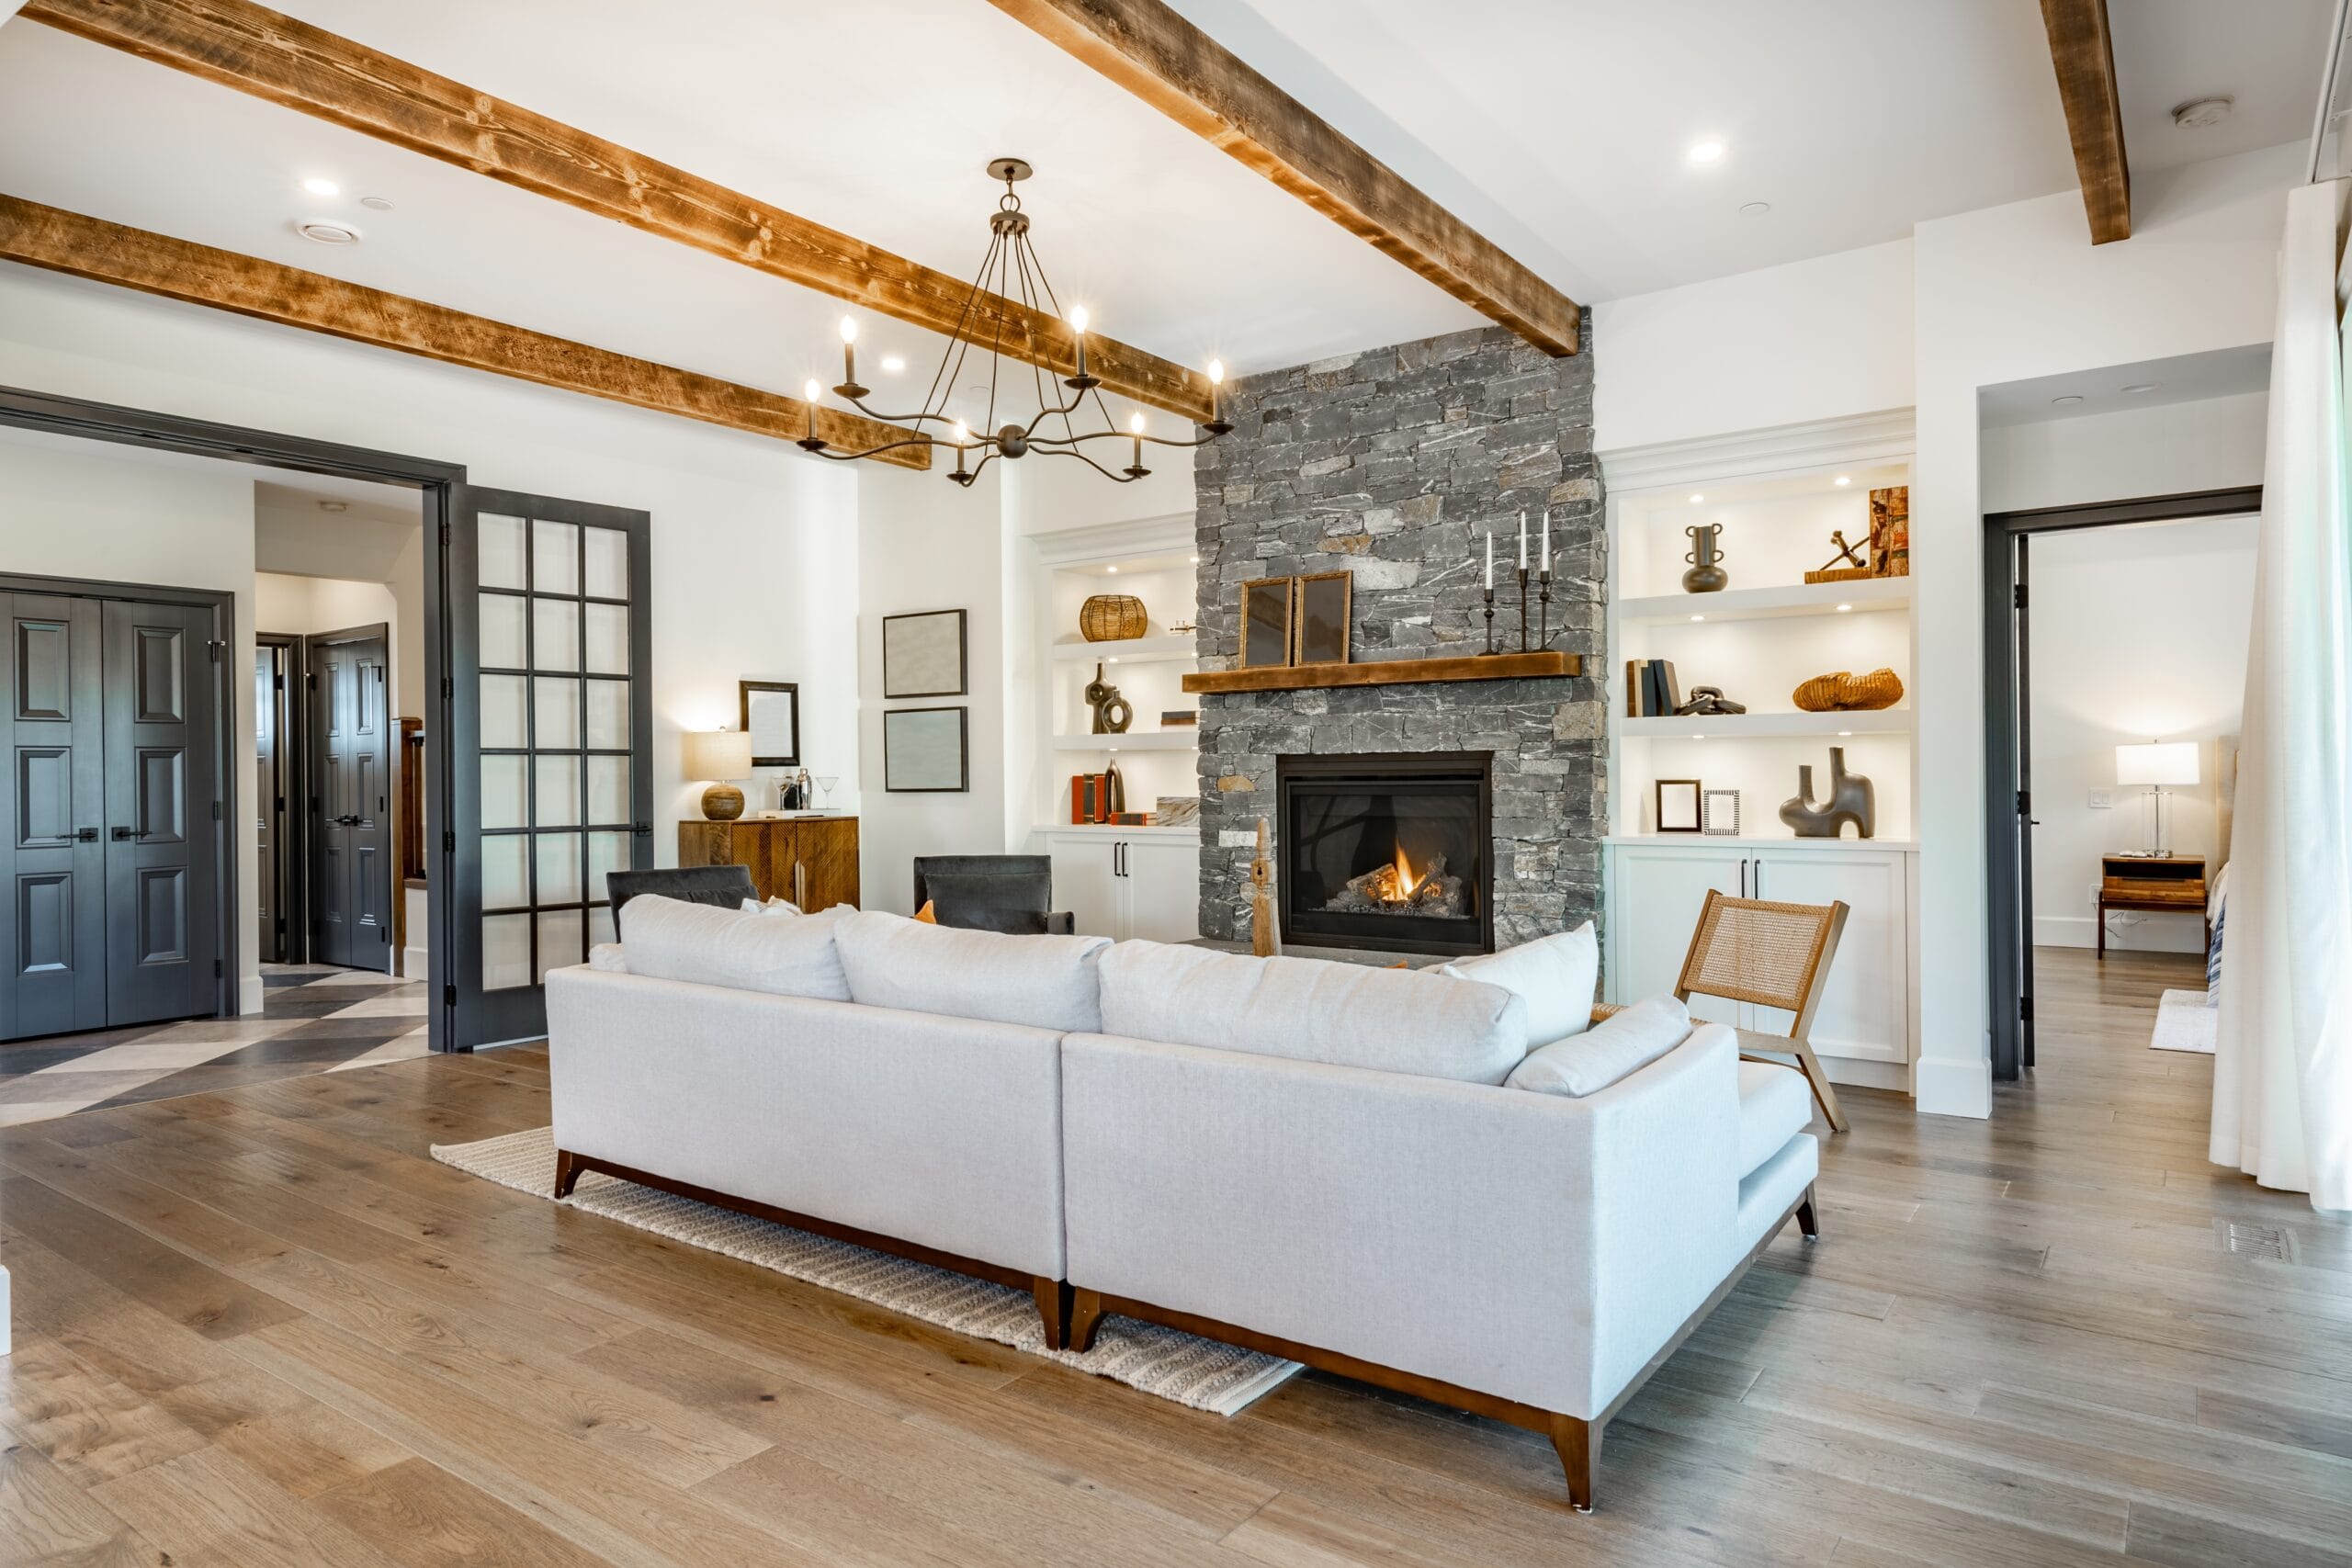
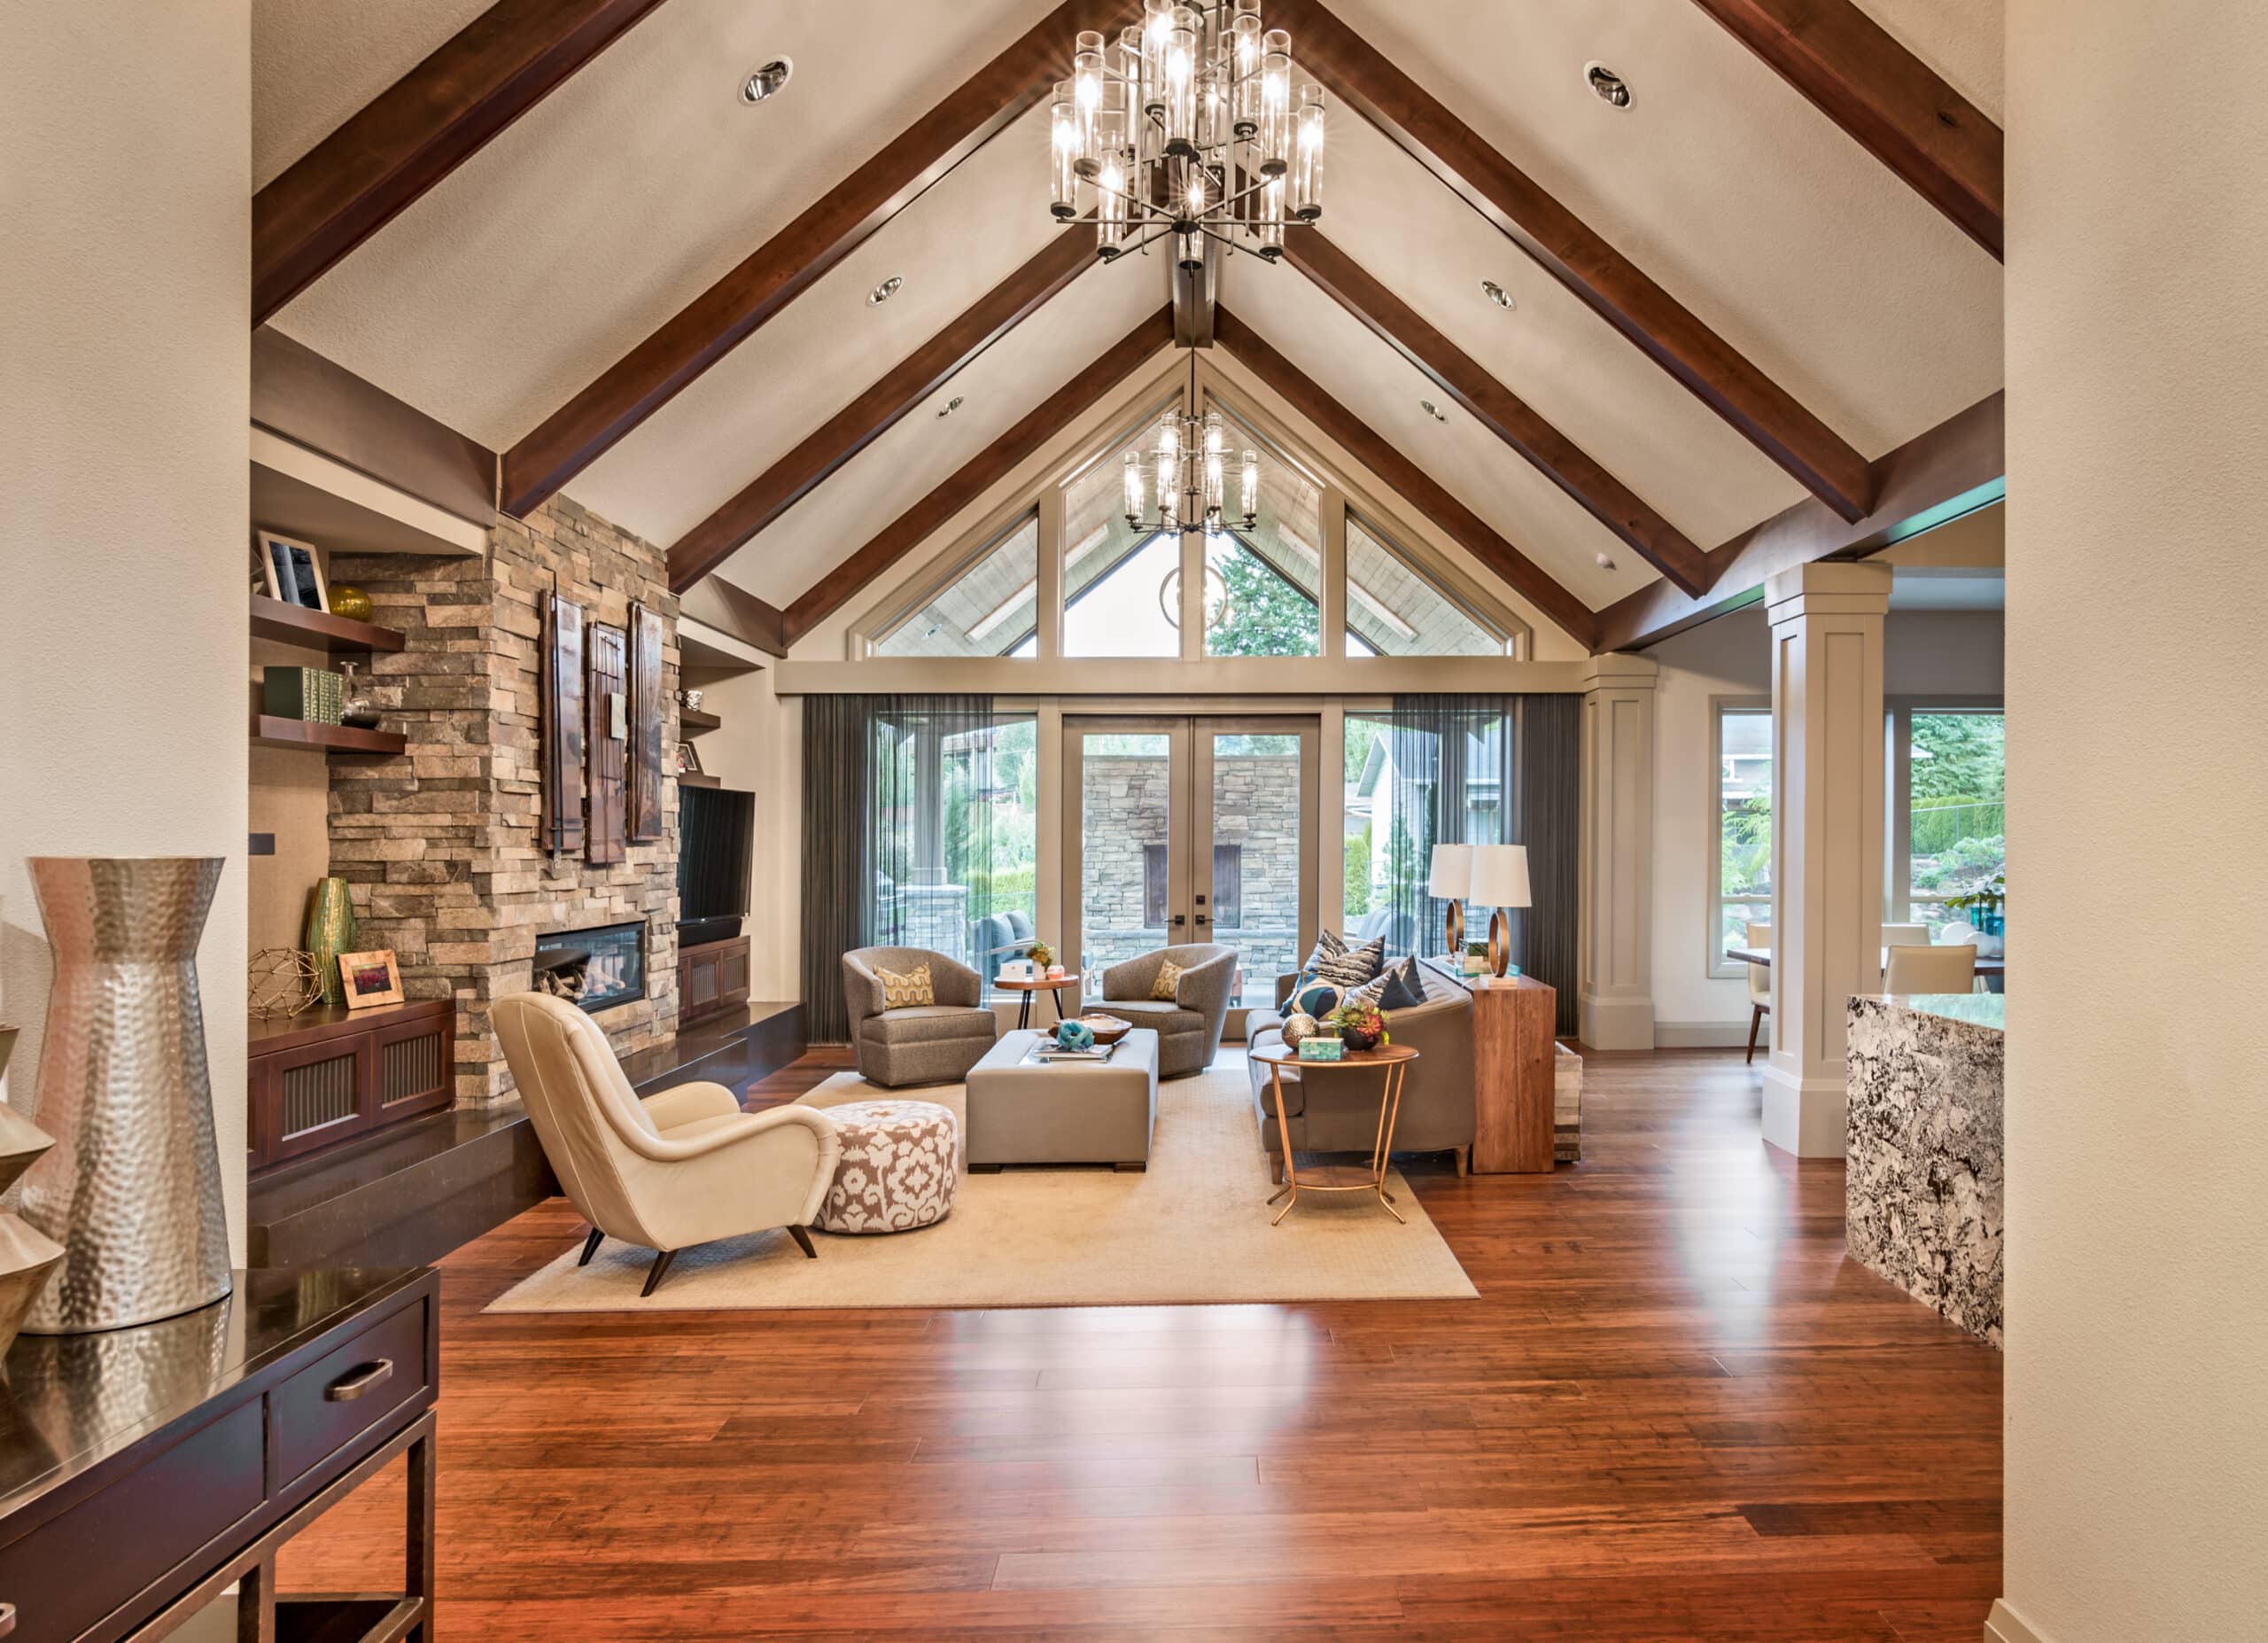
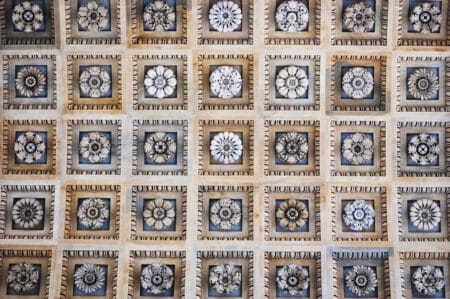
When I think about installing vaulted ceiling beams, I am often reminded of the sense of grandeur and openness they bring to a space. These architectural features, characterized by their high, sloping angles, create an illusion of height and spaciousness that can transform even the most modest of rooms. The design dates back to ancient times when it was used in cathedrals and grand halls to evoke a sense of awe.
Today, vaulted ceilings are a popular choice in modern homes, offering both aesthetic appeal and practical benefits. The beauty of vaulted ceilings lies not only in their visual impact but also in the way they enhance natural light. The angles of the ceiling allow sunlight to flood into the room from multiple directions, creating a warm and inviting atmosphere.
I find that this feature can significantly improve the overall mood of a space, making it feel more alive and vibrant. Additionally, vaulted ceilings can improve air circulation, which is particularly beneficial in warmer climates. The increased height allows hot air to rise, keeping the living area cooler and more comfortable.
Key Takeaways
- Vaulted ceilings create a sense of spaciousness and grandeur in a room and can be enhanced with the addition of decorative beams.
- When choosing the right type of beams for your vaulted ceiling, consider the style of your home, the size of the room, and the desired aesthetic.
- Accurate measurements and careful planning are essential for a successful beam installation on a vaulted ceiling.
- Before installing the beams, it’s important to prepare the ceiling by ensuring it is clean, smooth, and free of any obstructions.
- Proper installation of the beams is crucial for both safety and aesthetics and may require the assistance of a professional contractor.
Choosing the Right Type of Beams
Selecting the appropriate beams for a vaulted ceiling is a crucial step in the design process. I have learned that beams can serve both structural and aesthetic purposes, so it’s essential to consider both aspects when making my choice. There are various types of beams available, including wooden, steel, and engineered options.
Each material has its unique characteristics and can dramatically influence the overall look and feel of the space. When I contemplate wooden beams, I am often drawn to their warmth and natural beauty. They can add a rustic charm to a room, especially if I choose reclaimed wood with its rich history and character.
On the other hand, steel beams offer a more modern and industrial aesthetic. They are incredibly strong and can support larger spans without the need for additional support structures. I find that engineered beams, such as laminated veneer lumber (LVL), provide a perfect balance between strength and design flexibility.
Ultimately, my choice depends on the style I want to achieve and the structural requirements of my vaulted ceiling.
Measuring and Planning for Installation
Before diving into the installation process, I understand that careful measurement and planning are paramount. I begin by assessing the dimensions of the room and determining the height at which I want the beams to be installed. It’s essential to consider how the beams will interact with other architectural elements in the space, such as windows and lighting fixtures.
I often use a measuring tape to ensure accuracy, taking multiple measurements to avoid any discrepancies. Once I have gathered all the necessary measurements, I create a detailed plan that outlines the layout of the beams. This plan includes the spacing between each beam, which is typically determined by both aesthetic preferences and structural requirements. I find that visualizing the final outcome through sketches or digital design tools helps me make informed decisions about beam placement.
This step is crucial because it sets the foundation for a successful installation process.
Preparing the Ceiling for Installation
| Task | Time Taken (hours) | Materials Used |
|---|---|---|
| Removing old ceiling tiles | 2 | Trash bags, gloves |
| Scraping off old adhesive | 3 | Putty knife, adhesive remover |
| Repairing ceiling cracks | 4 | Joint compound, sandpaper |
| Priming the ceiling | 1 | Primer, paint roller |
Preparing the ceiling for beam installation is an essential step that I cannot overlook. Before I begin, I ensure that the existing ceiling structure is sound and capable of supporting the additional weight of the beams. This may involve inspecting for any signs of damage or wear that could compromise stability.
If necessary, I consult with a structural engineer to assess whether reinforcements are needed. Once I am confident in the integrity of the ceiling, I proceed to clear the area of any furniture or obstacles that could hinder my progress. This not only creates a safer working environment but also allows me to have a clear view of my workspace.
Additionally, I take care to protect any surfaces from dust and debris that may arise during installation. Covering floors with drop cloths and using painter’s tape on walls ensures that my home remains clean throughout the process.
Installing the Beams
With all preparations complete, it’s time to install the beams. This stage requires precision and attention to detail, as improper installation can lead to structural issues down the line. I start by marking the locations on the ceiling where each beam will be placed according to my earlier measurements.
Using a level ensures that each beam is installed straight and true, which is vital for both aesthetics and structural integrity. As I lift each beam into place, I often enlist the help of friends or family members to make the process smoother. It’s important to secure each beam properly using brackets or screws designed for this purpose.
Depending on the type of beam I’ve chosen, this may involve drilling into both the beam and the ceiling joists for added stability. Throughout this process, I continually check my work against my original plan to ensure everything aligns as intended.
Finishing and Styling the Beams
Once all beams are installed, I turn my attention to finishing touches that will enhance their appearance. Depending on my design vision, I may choose to leave the beams in their natural state or apply a finish that complements my interior decor. Staining or painting wooden beams can bring out their grain and texture while allowing them to blend seamlessly with other elements in the room.
This could include crown molding or trim that frames each beam beautifully. In some cases, I might even incorporate lighting fixtures that highlight the beams themselves, creating an inviting ambiance in the space.
The finishing touches are where I can truly express my personal style and make the vaulted ceiling feel like an integral part of my home.
Maintenance and Care for Vaulted Ceiling Beams
Maintaining vaulted ceiling beams is essential for preserving their beauty and functionality over time. Regular inspections are key; I make it a habit to check for any signs of wear or damage periodically. This includes looking for cracks in wooden beams or rust on metal ones.
If I notice any issues, addressing them promptly can prevent more significant problems down the line. Cleaning is another important aspect of maintenance that I prioritize. Dust and cobwebs can accumulate on beams over time, detracting from their appearance.
I find that using a soft cloth or duster helps me keep them looking pristine without causing any damage. For wooden beams, occasional polishing with a suitable wood cleaner can enhance their luster and protect them from moisture damage.
Additional Tips and Considerations for Vaulted Ceiling Beam Installation
As I reflect on my experience with vaulted ceiling beam installation, there are several additional tips that come to mind. First and foremost, it’s crucial to have a clear vision of what I want to achieve before starting the project. Researching different styles and materials can inspire me and help me make informed decisions throughout the process.
I also recommend considering energy efficiency when planning my vaulted ceiling design. Insulating around beams can help regulate temperature within the space, making it more comfortable year-round while potentially reducing energy costs. Additionally, incorporating skylights or large windows can maximize natural light while enhancing ventilation.
Lastly, patience is key during this project. Taking my time with each step ensures that I achieve a polished final result that I can be proud of for years to come. Whether it’s measuring accurately or applying finishing touches with care, every detail matters in creating a stunning vaulted ceiling that elevates my home’s aesthetic appeal.
In conclusion, installing vaulted ceiling beams is an exciting endeavor that can significantly enhance any living space. By understanding their design implications, choosing appropriate materials, carefully planning installation, and maintaining them over time, I can create an inviting atmosphere that reflects my personal style while enjoying all the benefits these architectural features have to offer.
If you are considering installing vaulted ceiling beams in your home, you may also be interested in reading an article on “Best Improvements to Increase Your House Value” from My Next House Project. This article provides valuable insights into home improvement projects that can enhance the value of your property, including the installation of vaulted ceiling beams. By making strategic upgrades like this, you can not only enjoy a more aesthetically pleasing living space but also potentially increase the resale value of your home.
FAQs
What are vaulted ceiling beams?
Vaulted ceiling beams are structural elements that are used to support and decorate the ceiling of a room. They are often made of wood or metal and are installed in a crisscross pattern to create a visually appealing architectural feature.
Why would someone want to install vaulted ceiling beams?
Installing vaulted ceiling beams can add a sense of height and grandeur to a room, making it feel more spacious and open. They can also add a touch of rustic or traditional charm to a space and can be used to hide wiring or other unsightly ceiling features.
What are the steps involved in installing vaulted ceiling beams?
The process of installing vaulted ceiling beams typically involves measuring and marking the placement of the beams, securing them to the ceiling joists, and finishing them with stain or paint. It may also involve cutting and fitting the beams to accommodate lighting fixtures or other ceiling features.
Can I install vaulted ceiling beams myself, or do I need to hire a professional?
While it is possible to install vaulted ceiling beams yourself, it is a complex and labor-intensive process that requires careful measurement and precision. It is recommended to hire a professional contractor or carpenter with experience in installing ceiling beams to ensure the job is done safely and correctly.
Are there any special considerations to keep in mind when installing vaulted ceiling beams?
When installing vaulted ceiling beams, it is important to consider the weight and load-bearing capacity of the ceiling joists, as well as any electrical wiring or plumbing that may be hidden in the ceiling. It is also important to choose beams that are the right size and style for the space and to ensure that they are properly secured to the ceiling to prevent sagging or shifting over time.
