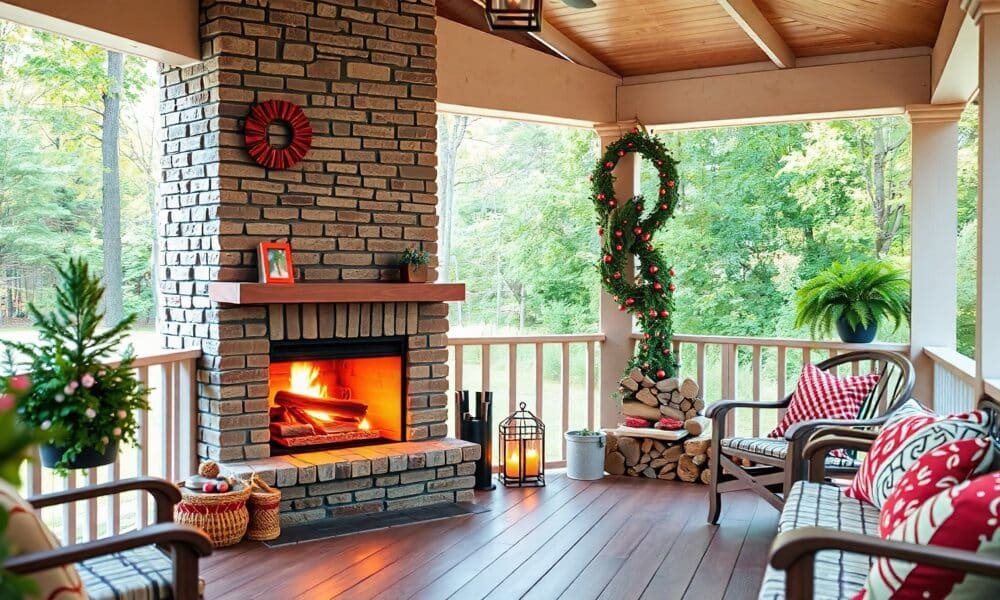
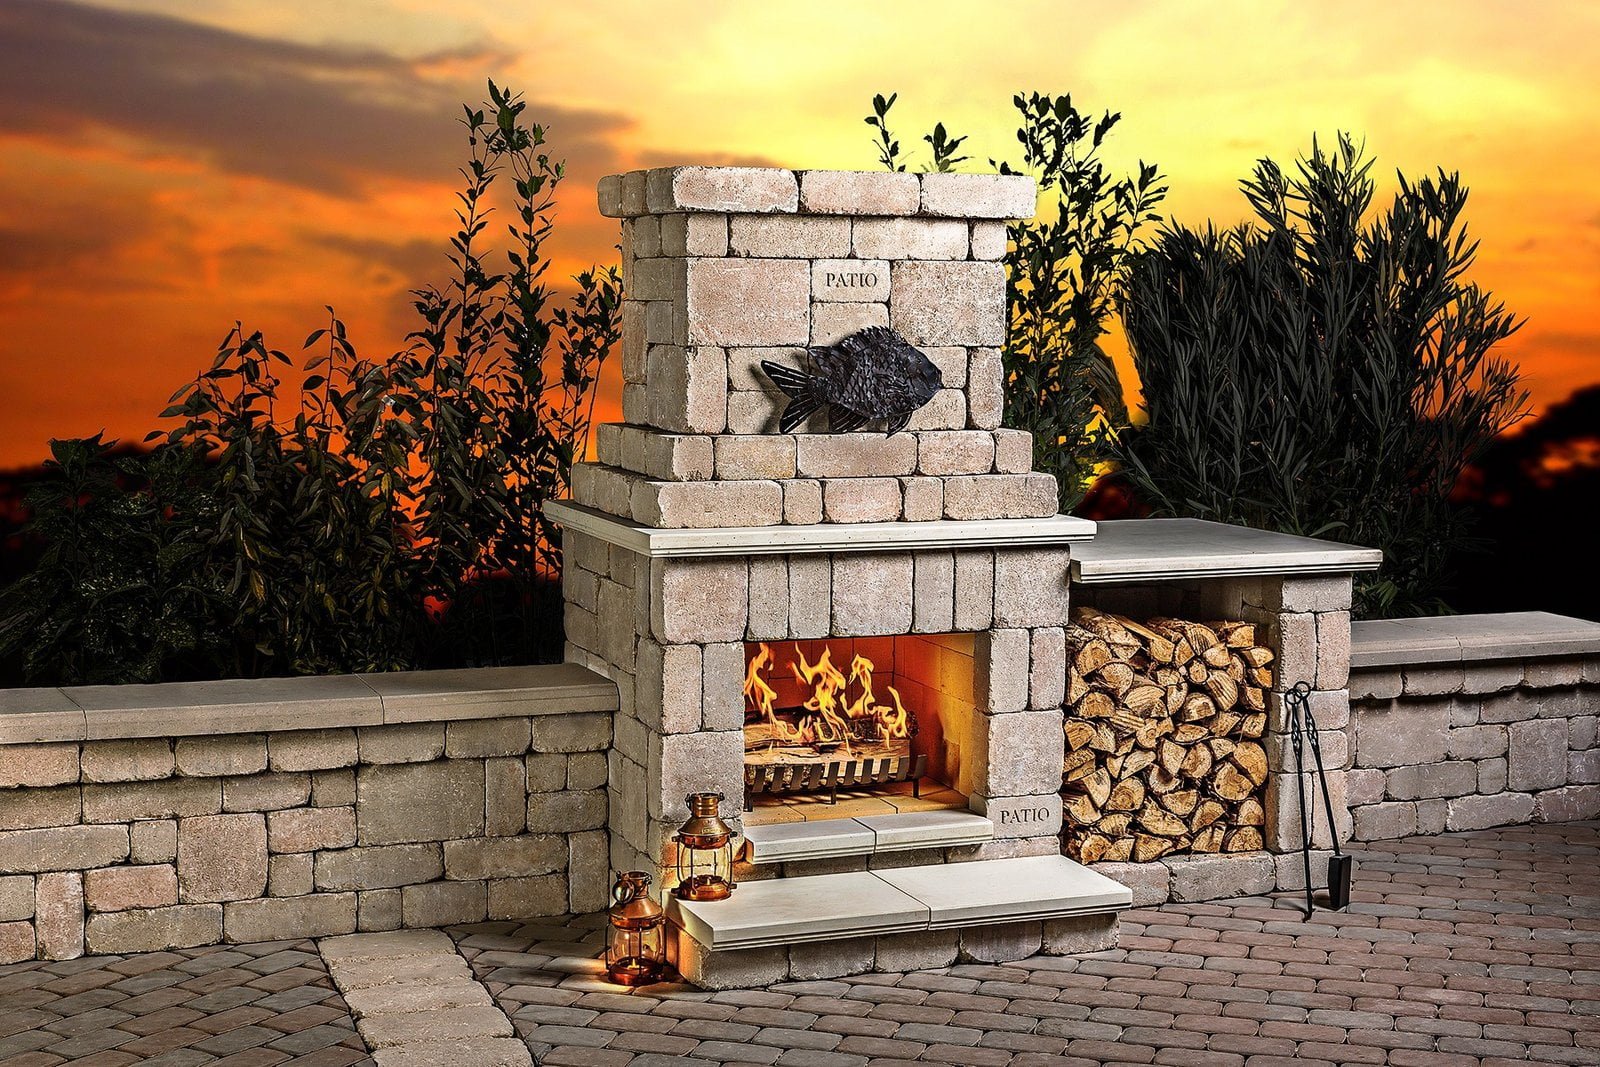
Imagine stepping out into your backyard on a crisp evening, tossing a log onto a glowing hearth, and feeling the warmth and crackle of a real fire as friends and family gather around. An outdoor wood burning fireplace offers that kind of cozy, timeless experience. Whether you’re planning a full-size masonry build or a smaller DIY hearth, this article walks you through how to build one—from the planning stage, through cost considerations, design ideas, installation steps and common questions. Use the tips below to bring that hearth to life and enhance your outdoor living space.
Table Of Content
- Planning Your Outdoor Wood Burning Fireplace
- Define Your Purpose & Location
- Check Local Codes & Permits
- Choose Material & Style
- Estimate Costs & Budget
- Cost Breakdown – Materials & Labour
- Typical Cost Ranges
- Cost Table
- Regional Labour‐Rate & Masonry Cost Breakdown
- Top Outdoor Fireplace Finish & Material Style Trends for 2025
- Key Steps to Build Your Outdoor Wood Burning Fireplace
- Step 1 – Foundation & Footing
- Step 2 – Firebox Construction
- Step 3 – Chimney & Flue System
- Step 4 – Exterior Material & Finish
- Step 5 – Safety & Clearances
- Step 6 – Final Touches & Use
- Outdoor Wood Burning Fireplace Design Ideas
- Rustic Stone Lodge Style
- Modern Linear Fireplace Wall
- Design Idea – Built-In Seating Bench
- Design Idea – Outdoor Kitchen & Fireplace Combo
- Budget-Friendly Ceramic Prefab Kit
- Benefits of Having an Outdoor Wood Burning Fireplace
- Conclusion
- FAQs
Planning Your Outdoor Wood Burning Fireplace
Define Your Purpose & Location
Start by asking: Will the fireplace be a focal point for gatherings, a cosy niche for two, or part of an outdoor kitchen? Choose a location that’s safe, level, allows clearance from structures and overhangs, and has proper airflow.
Check Local Codes & Permits
Wood-burning fireplaces often require clearance from walls/roofs, a proper foundation, and may require a building permit—check local regulations before proceeding.
Choose Material & Style
Select materials that suit your yard and budget—brick, stone, concrete, or prefab kits. Decide on a design: traditional hearth and chimney, open-faced firebox, or integrated with patio seating.
Estimate Costs & Budget
As with any major build, understanding your budget early helps avoid surprises. Below, you’ll find a cost breakdown table for materials + labour to guide you.
Cost Breakdown – Materials & Labour
Getting realistic about cost is key when building an outdoor wood burning fireplace.
Typical Cost Ranges
According to recent data:
-
Standard outdoor fireplaces average around $3,000 for typical builds in 2025.
-
Simple prefabricated kits may run $1,500 – $9,000.
-
Custom builds with premium materials and large scale may cost $8,000 – $20,000+ (even up to $40,000 for very elaborate work).
Cost Table
Here’s a visual table showing estimated costs depending on scope:
| Scenario | Material Estimate | Labour/Installation Estimate | Total Estimate |
|---|---|---|---|
| Basic wood-burning fireplace (small size, prefab kit) | $1,500 – $4,000 | $500 – $2,000 | $2,000 – $6,000 |
| Mid-range build (custom size, brick/stone veneer) | $4,000 – $8,000 | $2,000 – $5,000 | $6,000 – $13,000 |
| Premium/large build (high-end materials, large firebox, custom chimney) | $8,000 – $15,000+ | $4,000 – $10,000+ | $12,000 – $25,000+ |
Note: These ranges are ballpark figures. Your actual cost could vary based on material choices, site conditions, labour rates, access to site, foundation prep, and permit/inspection costs.
Regional Labour‐Rate & Masonry Cost Breakdown
Here are helpful benchmarks for labour and masonry costs relating to outdoor fireplace/masonry work. These help readers adjust based on region and complexity.
| Trade / Work Type | Typical Hourly / Unit Rate | Notes & Region Insights |
|---|---|---|
| Masonry (stone/brick wall work) | $70 – $100 per hour | Common range for experienced masons. |
| Masonry work by area (foundation/wall) | $10 – $30 per sq ft | Varies by material, site access, and complexity. |
| Landscaper site prep (for outdoor builds) | $50 – $150 per hour | Applies when site clearing, patio prep or excavation is needed. |
| Labour for outdoor fireplace build | Included in cost ranges $500-$10,000+ | Custom jobs with hard access/high finish push the labour component up. |
How to use in your article:
-
Recommend readers allocate a realistic labour allowance, e.g., $70/hr for masonry + site prep + finishing.
-
Suggest they ask contractors for a breakdown (masonry labour vs finishing labour).
-
Remind them that access (backyard, clearance), material weight, and design intricacy all affect labour cost more than just material cost.
Top Outdoor Fireplace Finish & Material Style Trends for 2025
To make your article even more timely and useful, you can provide readers with the top‐trend finish styles they might want for their outdoor fireplace build.
| Trend | Description & Why It’s Popular in 2025 |
|---|---|
| Natural Stone Veneer | Deep texture, rustic charm, blends with nature. Higher cost but high appeal; cost per sq ft for stone veneer helps frame budget. |
| Clean Modern Concrete or Stucco Finish | Smooth, minimalist look that fits modern homes. Often quicker labour and simpler lines. |
| Mixed Material Accent | Stone base + metal/black steel mantle + wood storage recess—adds layered texture and focal interest. |
| Warm Earth Tones & Dark Finishes | Earthy browns, rust tones, matte blacks for outdoor fireplaces are trending for a premium aesthetic. |
| Integrated Seating / Hearth Extension | Built‐in bench seating or hearth extension directly into design—adds function & luxury appeal. |
How to incorporate these trends:
-
Suggest readers choose one trending style as a guiding aesthetic so design and budget align.
-
Highlight that premium finishes (natural stone, mixed materials) will increase both material and labour cost, so show how the cost table earlier can scale upward.
-
Encourage linking style choice to budget: “If you pick natural stone veneer (cost $25-$45 per sq ft) expect labour to rise accordingly.”
Key Steps to Build Your Outdoor Wood Burning Fireplace
Step 1 – Foundation & Footing
Because a wood burning fireplace will get heavy (especially if built with stone/brick), start by pouring a level concrete pad or reinforced footing. Make sure soil is stable and you meet local code for foundation depth.
Step 2 – Firebox Construction
Build the firebox using fire-rated materials (firebrick, refractory mortar). Size matters—ensure the opening is large enough for logs, but designed to draw smoke up the chimney.
Step 3 – Chimney & Flue System
Proper chimney height and flue diameter are essential to draw smoke upward and away. Use a Class A chimney liner if required. The height above the roof or patio covering must meet clearance codes.
Step 4 – Exterior Material & Finish
Finish the fireplace exterior with the chosen material: stone veneer, brick, stucco or other masonry finish. Add decorative details like a mantel, hearth extension, and seating ledge if desired.
Step 5 – Safety & Clearances
Maintain clearance from combustible structures, provide spark screen or mesh, install a proper hearth extension, and ensure any overhead covering is fire-safe. Check local fire codes.
Step 6 – Final Touches & Use
Cure the mortar (slow burn small fire to begin), install accessories such as log holder, fire tools, and ensure you have protective gear like screen and extinguisher nearby. Enjoy responsibly.
Outdoor Wood Burning Fireplace Design Ideas
Rustic Stone Lodge Style
Use fieldstone veneer; deep firebox; large hearth seat that wraps around; wood log storage built beneath. Great for mountain or cabin-style homes.
Modern Linear Fireplace Wall
Clean lines, smooth stone or stucco finish, long horizontal firebox, built into patio wall with fireglass accents. Great for contemporary outdoor living.
Design Idea – Built-In Seating Bench
Extend hearth material into built-in benches on both sides of firebox; use same stone to integrate the fireplace into the patio design seamlessly.
Design Idea – Outdoor Kitchen & Fireplace Combo
Combine the fireplace build with an outdoor kitchen countertop/masonry build to create a fully functional backyard entertaining hub.
Budget-Friendly Ceramic Prefab Kit
Choose a firebox and chimney kit designed for outdoor use. Use siding or stone veneer to clad it yourself. Saves labour and gives decent style for lower cost.
Benefits of Having an Outdoor Wood Burning Fireplace
-
Extends your outdoor living season—warmth invites use in cooler evenings.
-
Adds architectural focal point and increases home appeal and value.
-
Provides ambiance that a fire pit doesn’t fully capture (vertical fire, chimney architecture).
-
Allows you to roast marshmallows, enjoy logs, host gatherings without going indoors.
-
With proper design, can integrate comfortably into patio/landscape design.
Conclusion
Building an outdoor wood burning fireplace is a project that marries functionality with ambiance, turning your backyard into a year-round gathering spot. With careful planning, an understanding of cost factors (materials + labour), and design ideas that suit your style and budget, you can create a stunning fireplace that serves as both a focal point and a source of warmth. Use the table above to get a real sense of budget, follow the steps to build safely and effectively, and let your outdoor wood burning fireplace become the heart of your outdoor living area.
FAQs
1. How much does it cost to build an outdoor wood burning fireplace?
It ranges widely from roughly $2,000 to $25,000+, depending on size, materials and custom features. Many typical builds fall around $3,000.
2. Can I build it myself to save money?
Yes, if you have masonry skills and the site is straightforward you may consider DIY or partial. But many costs (foundation, chimney clearance, permits, safety) make professional help advisable.
3. What materials are best for an outdoor wood burning fireplace?
Use fire-rated material for firebox (firebrick, refractory mortar) and durable exterior finishes like stone veneer, brick or concrete. Choose rust-resistant metal for chimney and proper flue liner.
4. Do I need a permit to build an outdoor fireplace?
Often yes. Check your local building code for required permits, especially for outdoor wood burning appliances, chimney height/clearances and fire safety regulations.
5. How long does a well-built outdoor wood fireplace last?
With quality materials and proper construction it can last decades. Regular inspection, cleaning of flue, and good maintenance extend life.
6. What should I budget for beyond just materials?
In addition to materials, budget for labour (masonry, chimney work), foundation/footing prep, permits/inspections, flue/chimney liner, hearth extension, accessories and safety features.

