Painting concrete floors with paint can significantly enhance the look and utility of garages and basements. However, diving into this task without proper knowledge can lead to common pitfalls that detract from the appearance and durability of the floor.
Table Of Content
- Understanding the Appeal of Painted Concrete Floors
- Transforming Spaces with Color
- Beyond Aesthetics: Practical Advantages
- Enhancing Room Brightness
- Painting Concrete Floors: Common Hurdles And How To Overcome Them
- 1) The Critical Role of Surface Preparation
- 2) Navigating Environmental Variables
- 3) The Importance of High-Quality Paint
- 4) Optimizing Paint Quantity
- 5) Sealant: The Unsung Hero
- 6) Patience in Drying and Curing
- 7) Mastering Surface Repairs
- 8) Verifying Paint Compatibility
- 9) Selecting Optimal Application Tools
- In The End
In this comprehensive guide, we’ll navigate through these missteps and provide practical solutions to ensure your painted concrete floors stand the test of time.
Understanding the Appeal of Painted Concrete Floors
The charm of painted concrete floors extends well beyond mere aesthetics. This sturdy and adaptable material, often perceived as cold and practical, can be transformed with a splash of paint. Engaging in a DIY project to painting concrete floors is cost-effective and a surprisingly simple way to breathe life into spaces that might otherwise seem unwelcoming or overly industrial.
Transforming Spaces with Color:
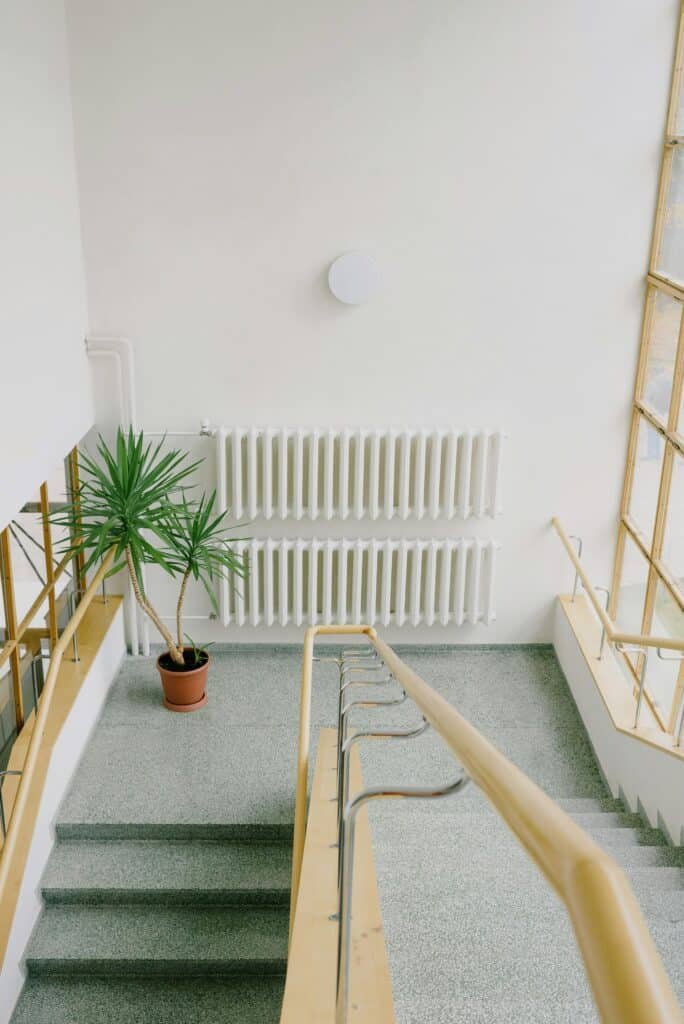
Painting your concrete floors serves a dual purpose. It can warm the space aesthetically, making it feel more inviting and homely. The right shade can complement your home’s decor, creating a unified look that flows seamlessly from one room to another.
Whether you’re aiming for a sleek, modern look with bold, solid colors or a more rustic charm with softer, earthy tones, the choice of paint can significantly impact the room’s overall ambiance.
Beyond Aesthetics: Practical Advantages
The benefits of painting concrete floors extend far beyond mere visual appeal. A quality paint job acts as a protective shield, safeguarding the floor against everyday wear and tear. This protective layer is adept at minimizing dust accumulation, streamlining the cleaning process, and contributing to a healthier living environment.
For moisture-prone areas like basements, the right paint can also serve as a moisture barrier, enhancing the room’s overall comfort and preventing the growth of mold and mildew.
Enhancing Room Brightness
The strategic selection of paint color can dramatically influence a room’s brightness and perceived size. Lighter shades have the power to reflect light, effectively brightening spaces that lack sufficient natural light. This is especially beneficial in inherently darker areas of the home, such as basements or internal rooms without windows, where a lighter paint shade can foster a sense of spaciousness and lightness.
Painting Concrete Floors: Common Hurdles And How To Overcome Them
Transforming your space with painted concrete floors can be both rewarding and cost-effective. However, diving into this project without proper foresight can lead to common pitfalls that compromise the quality and longevity of your work. Let’s look at these mistakes and how to navigate them skillfully:
1) The Critical Role of Surface Preparation
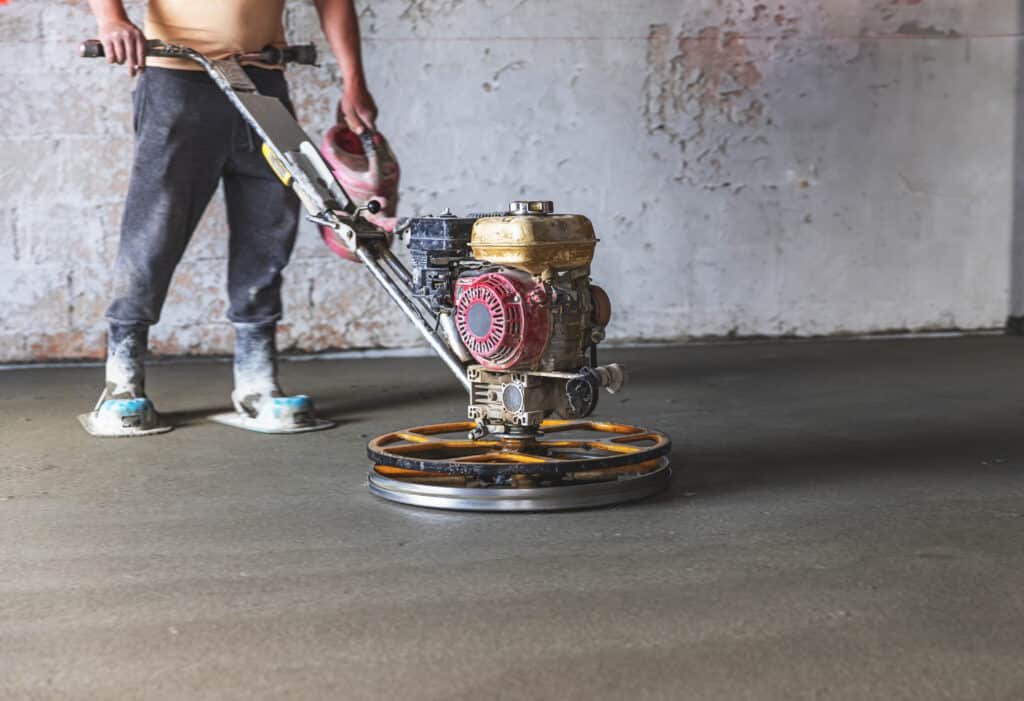
Proper surface preparation is paramount. Ignoring this can lead to adhesion problems, resulting in a paint job that peels or chips prematurely.
Solution: Start with a deep clean using a strong degreasing agent, always wearing protective gear to safeguard against harsh chemicals. After degreasing, thoroughly rinse the surface and allow it to air dry completely.
For an even stronger bond, mechanical etching or chemical etching can roughen the surface slightly, ensuring the paint adheres more effectively. This step is crucial for floors exposed to substances impeding paint adhesion, like oil or solvents.
2) Navigating Environmental Variables
Environmental conditions greatly influence the process of painting concrete floors. Inappropriate temperature and humidity levels can lead to a compromised paint job.
Solution: Ensure the painting environment is within the ideal 50 to 85 degrees Fahrenheit range and maintain humidity levels between 40% and 70%. In indoor settings, utilize tools like dehumidifiers or heaters to achieve these conditions. When painting outdoors, timing is key – monitor weather forecasts to choose a period that offers stable, suitable conditions.
3) The Importance of High-Quality Paint
The temptation to save money with budget paints can be strong, but this often leads to durability issues and the need for frequent touch-ups.
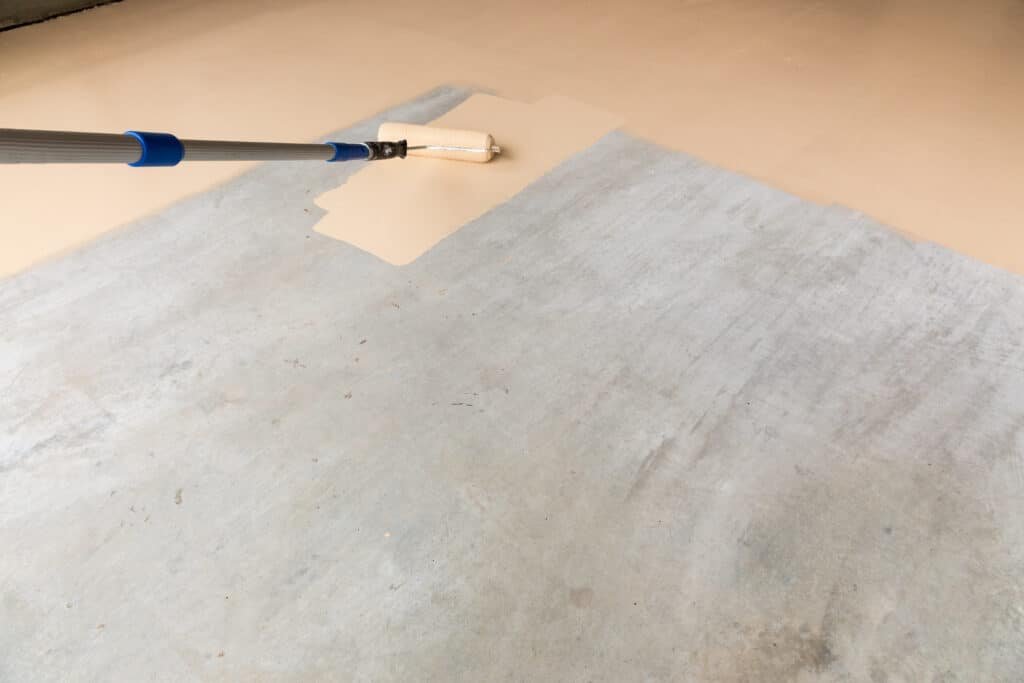
Solution: Selecting the right paint is crucial. Opt for paints formulated explicitly for painting concrete floors, such as epoxy or acrylic latex. Epoxy paints, known for their toughness, are particularly suited for high-traffic areas. In contrast, acrylic latex paints offer easier application and cleanup, making them a user-friendly option without sacrificing too much in terms of durability.
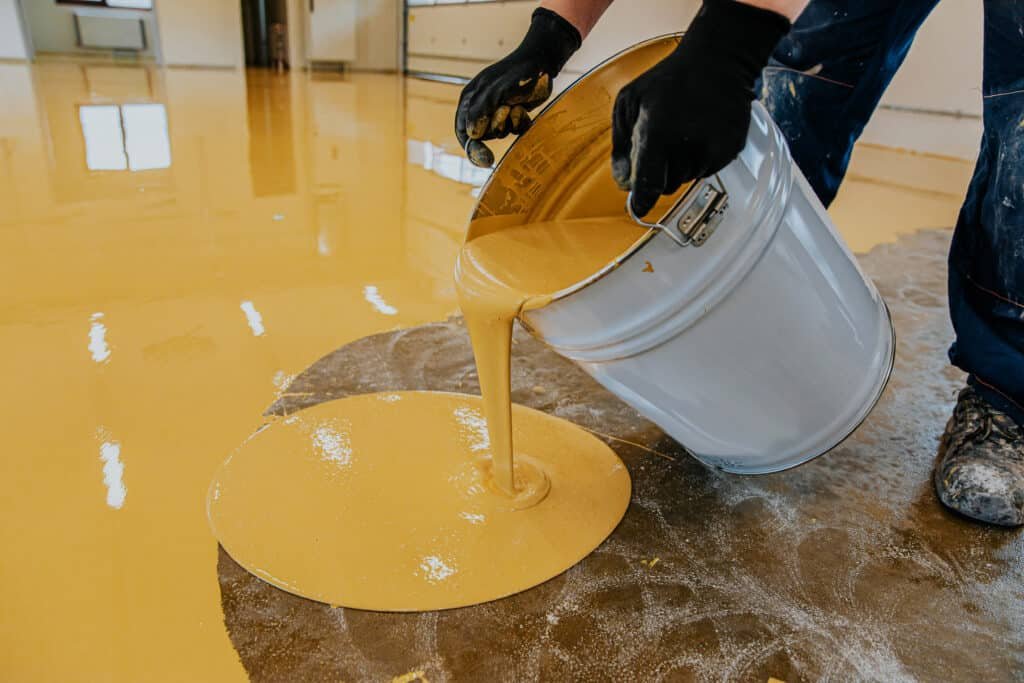
4) Optimizing Paint Quantity
Insufficient painting concrete floors can lead to a subpar finish that may not offer adequate protection or aesthetic appeal.
Solution: Accurately measure the area to ensure you buy enough paint to cover the space comprehensively, adhering to the manufacturer’s suggested coverage rates. Applying multiple thin coats is more effective than a single thick coat, as it allows for better drying and a more even application, ultimately leading to a stronger, more uniform finish.
5) Sealant: The Unsung Hero
Sealant is an aesthetic choice and a crucial protective layer that enhances the floor’s resistance to elements and wear.
Solution: Once the final coat of paint is dry, apply a compatible sealant to add an extra layer of protection. The sealant enhances durability and provides a desired finish, from matte to glossy, depending on the product used. Ensure proper ventilation during application to safeguard against fumes.
6) Patience in Drying and Curing
The drying and curing process is vital to the longevity of your painting concrete floors. Rushing this stage can lead to damage and a need for rework.
Solution: Allocate a minimum of 72 hours for light use after painting, and ideally, allow a whole week for the paint to cure to its maximum hardness. This patience pays off in a durable, resilient finish that can withstand regular use without showing signs of wear.
7) Mastering Surface Repairs
Flaws such as holes and cracks can significantly affect the overall look and longevity of painted concrete surfaces. These flaws can create weak points where moisture and wear can penetrate, potentially leading to peeling or chipping of the paint.
Solution: Begin by thoroughly assessing the floor for any damage. Use a high-quality concrete filler or patching compound specifically designed for concrete repair. Follow the manufacturer’s guidelines for applying the filler, ensuring it’s pressed deeply into crevices and openings to remove any trapped air.
Once the filler has cured, sanding the repaired areas smoothly is crucial for achieving a uniform surface texture. This enhances the aesthetic appeal and ensures the paint adheres evenly across the floor, reducing the risk of future peeling.

8) Verifying Paint Compatibility
The diversity of concrete surfaces means that not all paints will perform equally well in every situation. Using paint that isn’t compatible with your specific concrete floor can result in poor adhesion, leading to a finish that may flake or peel prematurely.
Solution: To prevent such issues, conducting a patch test is essential. Choose an inconspicuous floor area and apply a small amount of paint. Allow it to dry and cure as per the product’s instructions. Observe the test area for any signs of poor adhesion, such as bubbling, peeling, or discoloration.
This test can also give you an idea of the paint’s actual color and finish on your concrete, ensuring it meets your aesthetic expectations. If the test area shows any signs of incompatibility, consider consulting with a paint specialist to find a more suitable option for your concrete type.
9) Selecting Optimal Application Tools
The caliber of your equipment is crucial in attaining a finish that looks expertly done. Poor-quality rollers and brushes can lead to uneven coverage, streaks, and even bristle loss, which can mar the surface of your freshly painted floors.
Solution: Invest in rollers and brushes specifically designed for painting concrete floors. For rollers, choose a nap length that corresponds to the texture of your concrete surface, a longer nap for rougher surfaces, and a shorter nap for smoother ones. This ensures the paint is evenly distributed across the surface, including in the concrete’s pores and textures.
High-quality brushes are equally important, especially for cutting edges and around fixtures. Look for brushes made with durable materials that can hold a significant amount of paint without dripping or shedding bristles.
In The End:
Transforming painting concrete floors can enhance any area’s aesthetics, shifting from dull to delightful with some knowledge and effort. By heeding the advice laid out in this guide—from meticulous surface prep to the careful selection of paint and tools—you’re set to avoid common pitfalls and achieve a stunning, durable finish.
Remember, the key to a successful painting concrete floors project lies in patience, precision, and preparation. With these principles in mind, you’re well on transforming your concrete floors into a masterpiece that stands the test of time.





![Shiplap Costs Per Square Foot: Proven Expert [2026 Pricing Guide] Shiplap Costs](https://mynexthouseproject.com/wp-content/uploads/2026/01/Shiplap-Costs-550x400.jpg)


